This post may include affiliate links. As an Amazon Associate I earn from qualifying purchases.
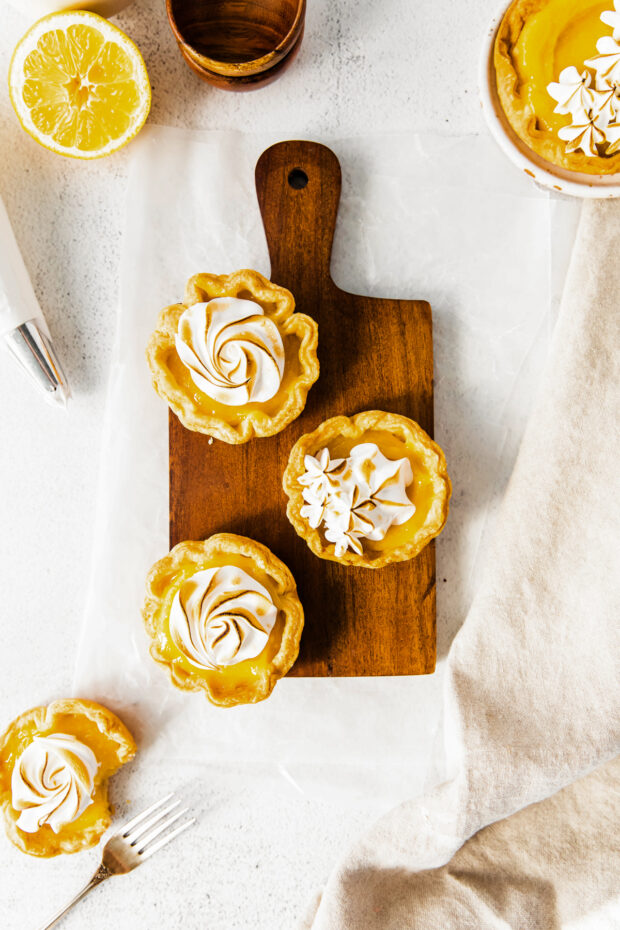
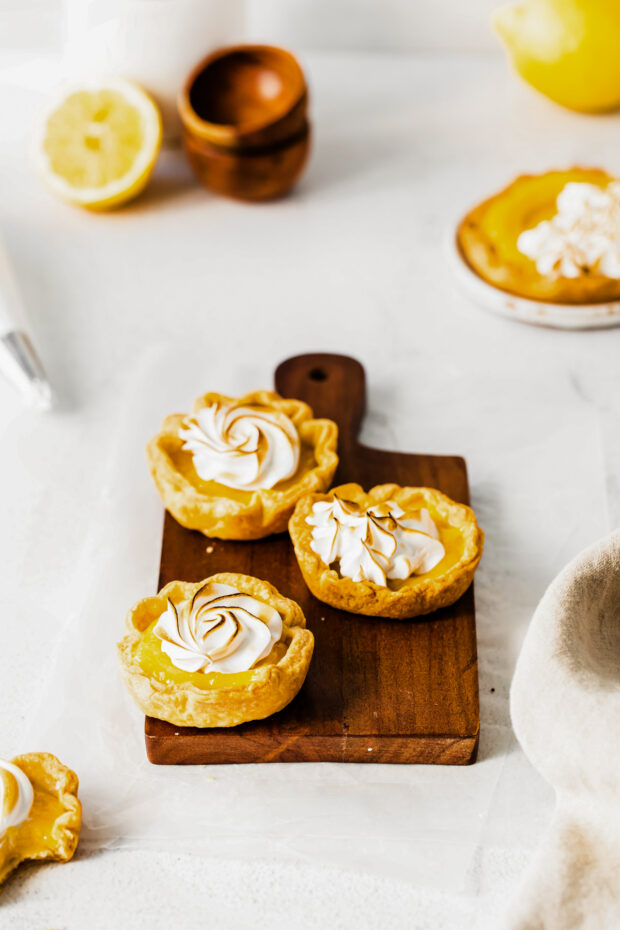
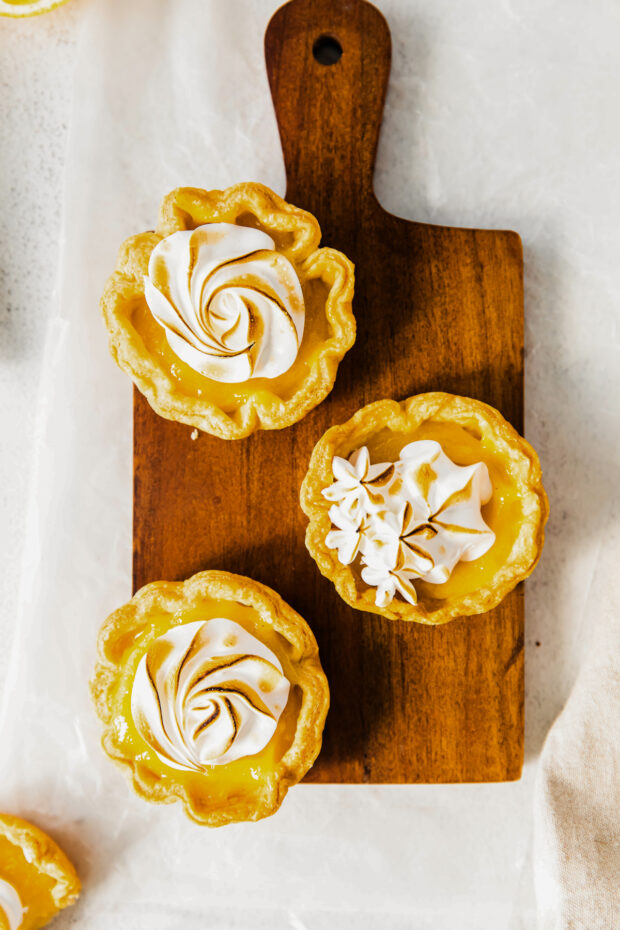
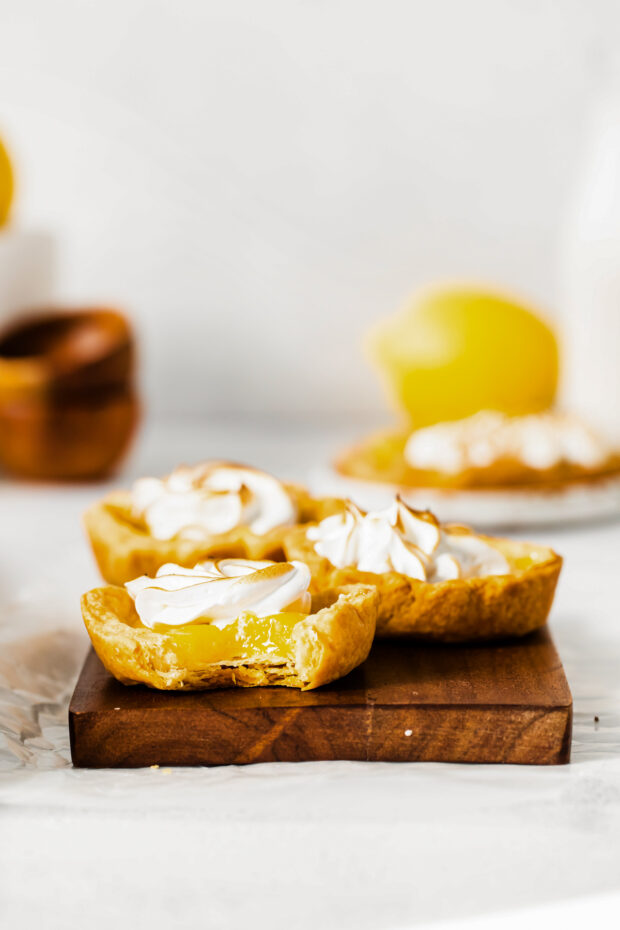
These adorable mini lemon meringue tarts are the perfect dessert, filled with tangy lemon curd and a sweet meringue topping.
Are you looking for a little bite of sunshine?
These mini lemon meringue tarts are a perfect combination of tangy lemon curd filling, and fluffy meringue topping, all nestled inside a delicate buttery pastry shell.
They are perfect for any occasion, from elegant dinner parties to casual afternoon tea with friends. Plus, they are so easy to make that you can whip up a batch in no time!
Trust me, these mini lemon meringue tarts are definitely worth sharing at your next party!
Ingredients for mini lemon meringue tarts
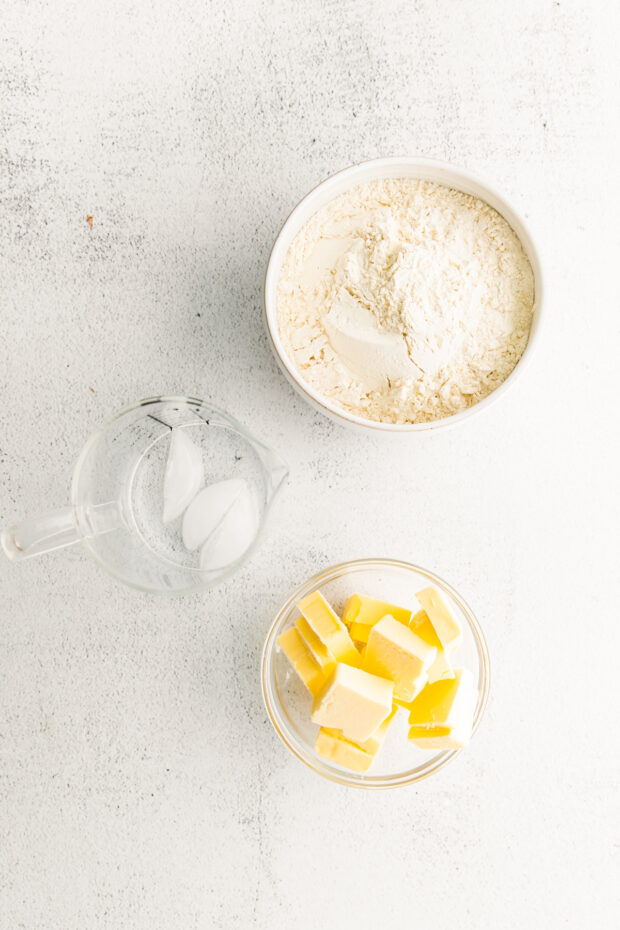
For crust:
- Butter – The butter helps provide moisture and necessary fat to make the crust flaky and delicious.
- Flour – This is a common ingredient needed to make the structure of the crust.
- Ice water – The ice water will help hydrate the dough without melting any butter.
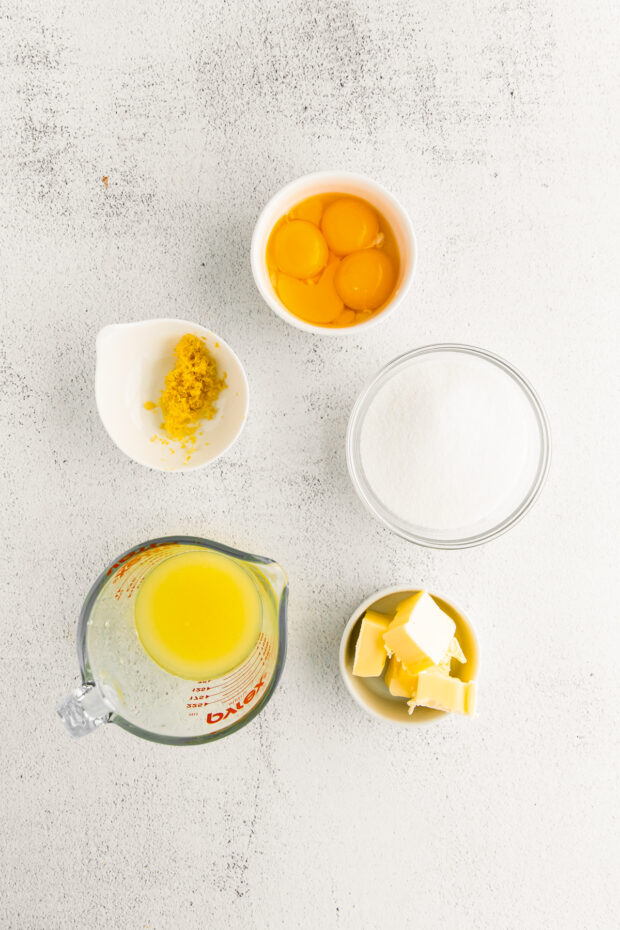
For filling:
- Egg yolks – Egg yolks will add richness to the lemon curd.
- Granulated sugar – Granulated sugar will add sweetness.
- Lemon juice and lemon zest – Both lemon juice and zest will give a burst of fresh lemon flavor to the lemon curd.
- Butter – Butter is a necessary fat that will add moisture and a luscious mouthfeel.
For meringue:
- Egg whites – Egg whites will create the structure of the meringue.
- Granulated sugar – Granulated sugar will add sweetness.
- Vanilla extract – Vanilla extract will add a sweet vanilla flavor.
Make it easier
You know I’m all about saving time! If you need these tarts in a hurry, here are a few things you can do to help speed up the process:
- Buy premade pastry dough from the store, found in the refrigerated section. There’s absolutely no shame in buying premade crust! It’s ready to go when you are.
- Make the lemon curd the day before, and store it in an airtight container in the refrigerator.
Using another citrus
Lemon meringue is a classic flavor, but feel free to play with another citrus too! Here are some other great options:
- Orange
- Blood orange
- Grapefruit
- Lime
Sugar-free
If you need to make these mini lemon meringue tarts sugar-free, simply replace the granulated sugar with your favorite sugar substitute!
Storage and leftovers
Any leftover mini lemon meringue tarts can be stored in an airtight container in the refrigerator for up to 2 days.
More dessert recipes
- Love all things mini? Try my Mini Berry Galettes
- Craving chocolate? Try my Double Chocolate Thumbprint Cookies
- Need a fun snack? Try my Air Fryer Cinnamon Sugar Knots
- Want an easy ice cream? Try my Birthday Cake Ice Cream
Mini Lemon Meringue Tart

Ingredients
For crust:
- 12 tablespoons butter, cubed and cold
- 2 cups all purpose flour
- 1/3-1/2 cup ice water, see notes
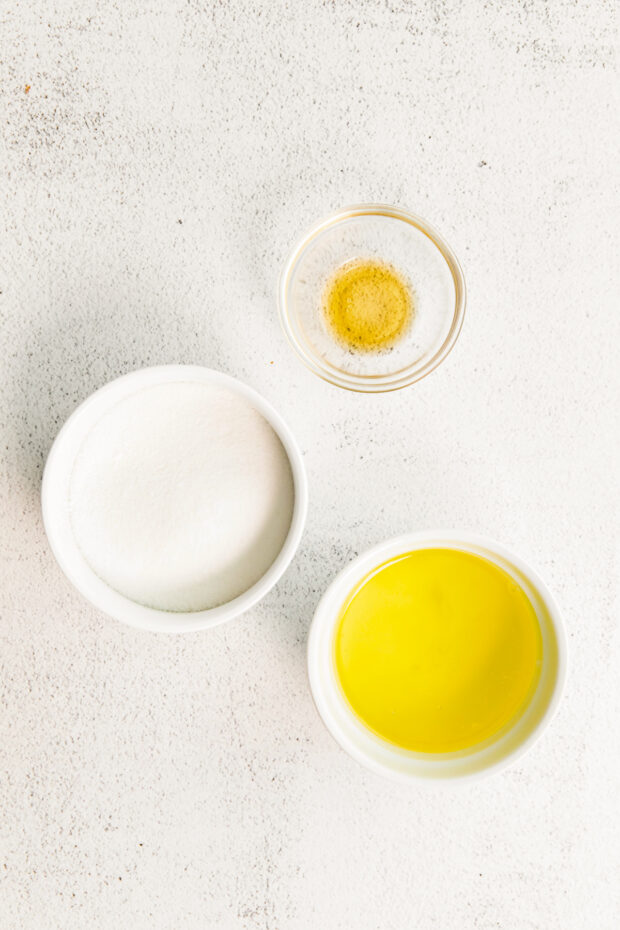
For filling:
- 4 large egg yolks, save the whites for the meringue
- 1 cup granulated sugar
- 1/3 cup lemon juice
- 2 teaspoons lemon zest
- 5 tablespoons butter
For meringue:
- 3 large egg whites
- 3/4 cup granulated sugar
- 1 teaspoon pure vanilla extract
Instructions
For crust:
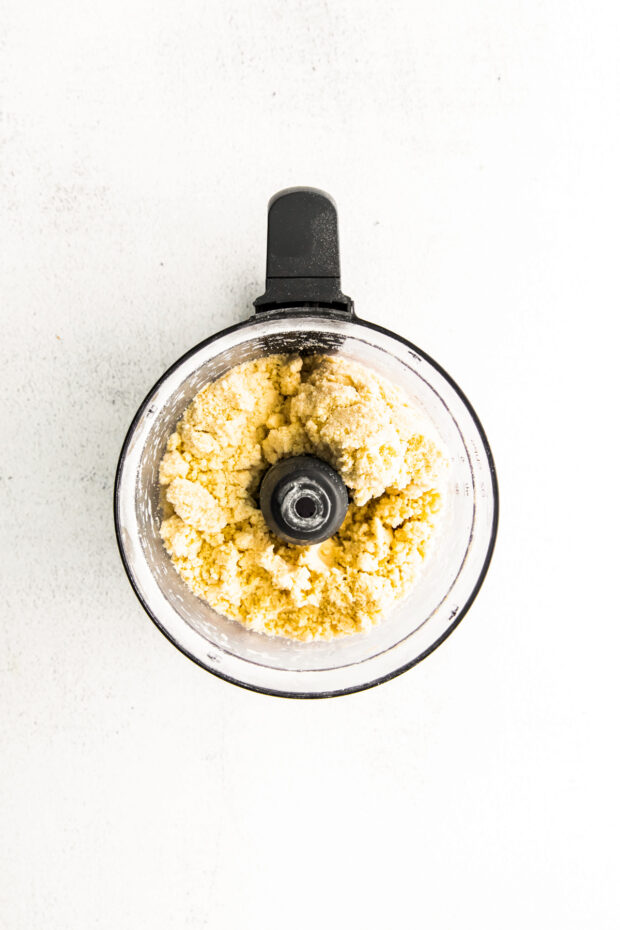
- Add the cubed butter and all purpose flour to the bowl of a food processor. Pulse until the butter is broken into the size of peas, about 15 pulses. If you don’t have a food processor, you can also do this with a pastry cutter.
- Slowly stream in the ice water while pulsing the food processor. Add just enough water until the dough comes together in a ball around the blade.
- Shape the dough into a disc and wrap it tightly in plastic.
- Refrigerate for 15 minutes.
- Once the crust has chilled, roll it to 1/4 inch thick on a lightly floured surface. Use your desired cookie cutter to cut out rounds from the dough (I used a 3 inch cookie cutter for my mini-tart pan).
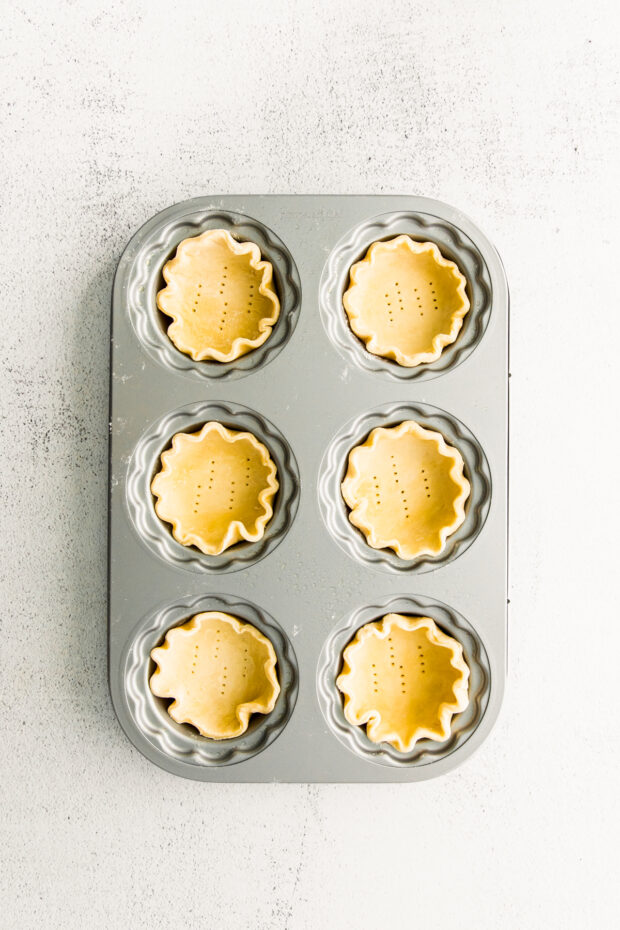
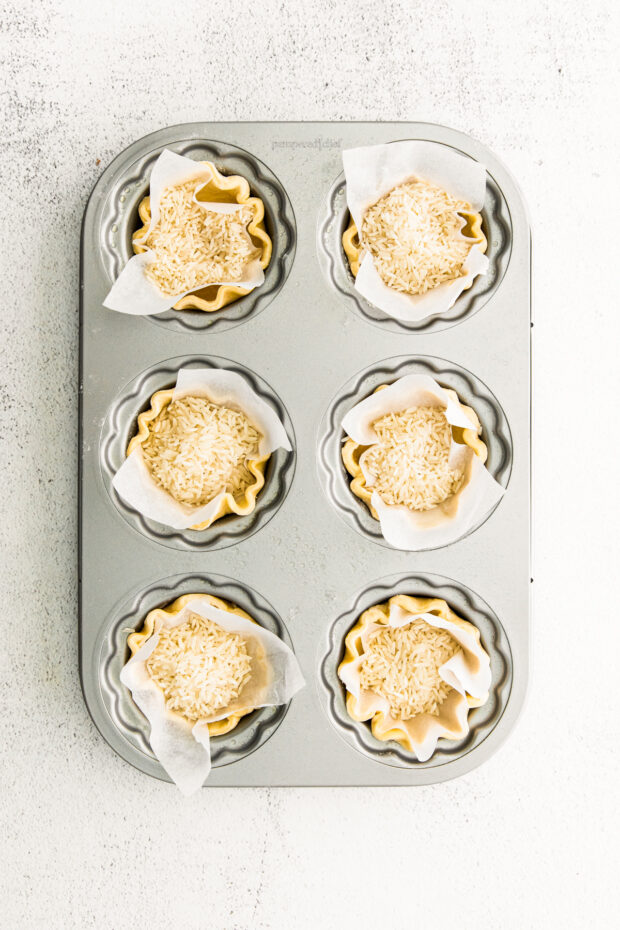
- Lightly spray your pan with nonstick baking spray and place the crusts into the pan. Poke the bottom of the crust a few times with a fork.
- Then, place a a piece of parchment paper over each pie shell and fill it with pie weights (or rice or dried beans).
- Blind bake the pie for 15 minutes. Then, remove the pie weights and parchment paper and bake for another 10 minutes, or until the shells are golden brown.
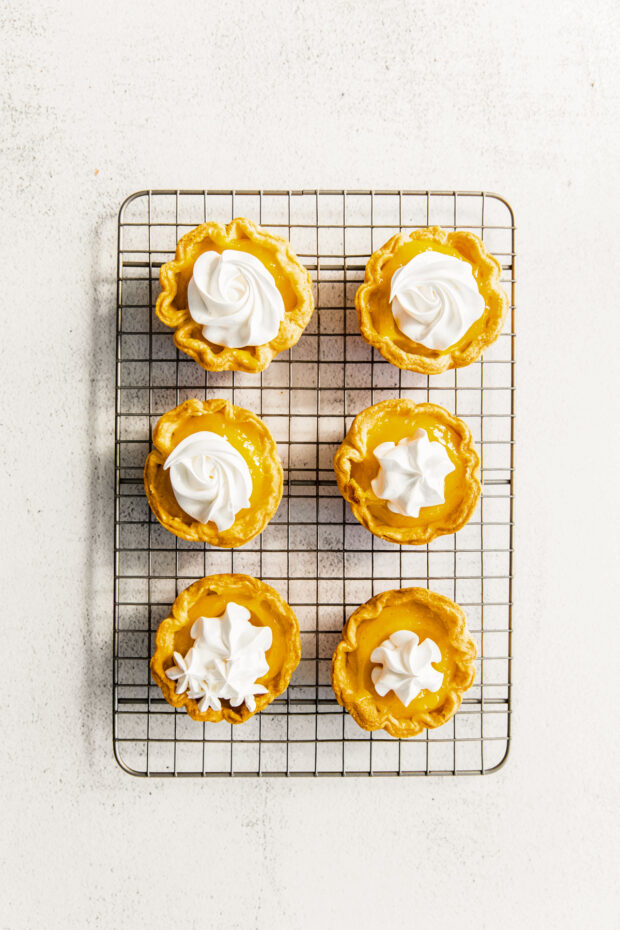
- Remove the crusts to a wire rack to cool while you make the filling.
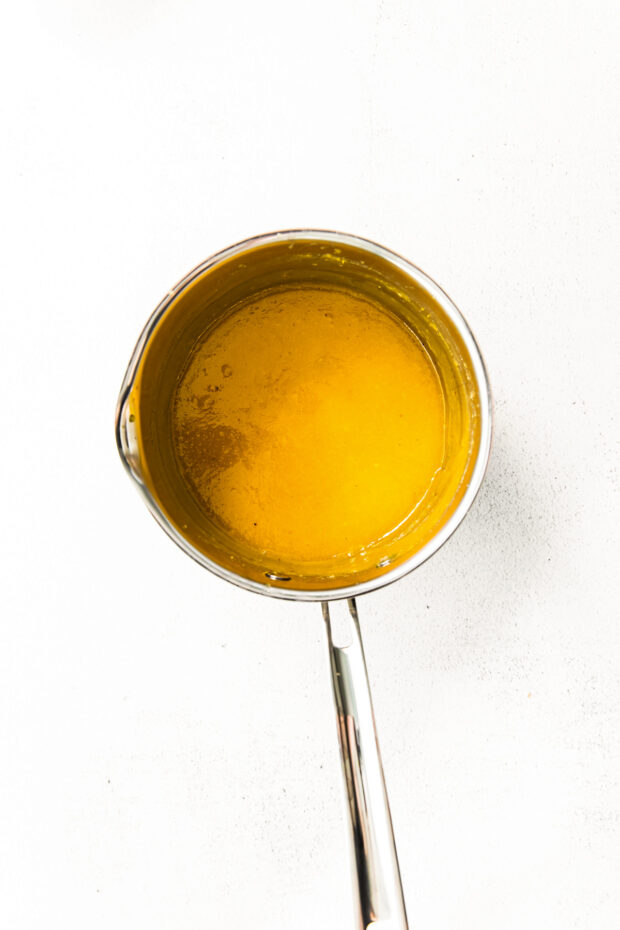
For filling:
- Place a small saucepan over medium heat. Add the egg yolks, granulated sugar, lemon juice, and lemon zest.
- Cook, stirring often, until the mixture has thickened enough to coat the back of a spoon— about 10 minutes.
- Remove from the heat and whisk in the butter.
- Allow the filling to cool completely to room temperature before adding it to the pie shells.
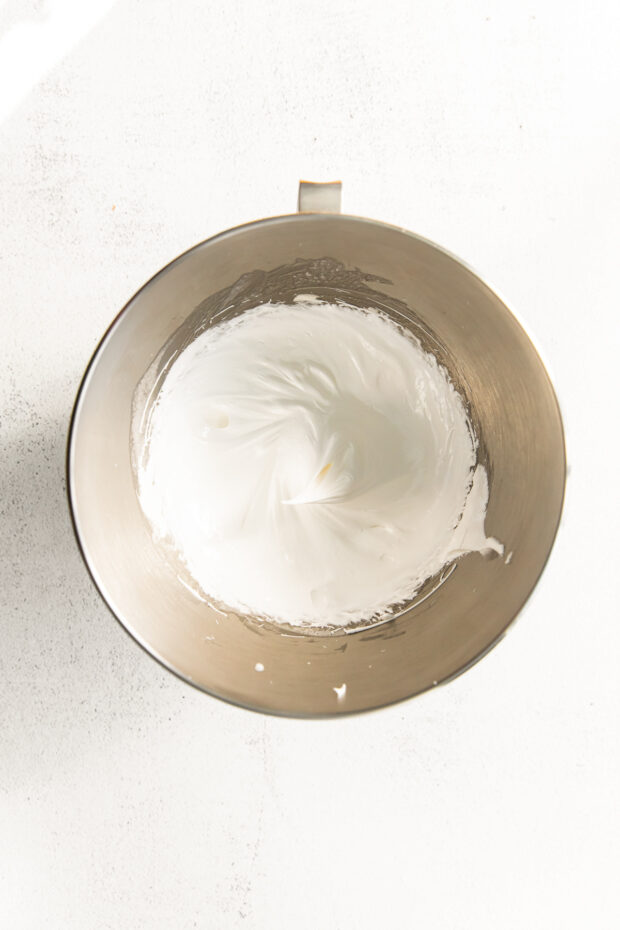
For meringue:
- Place a heatproof bowl over a small pot of simmering water. Make sure the bottom of the bowl isn’t touching the water.
- Add the egg whites and granulated sugar to the bowl and whisk constantly for 5 minutes, or until the sugar has fully dissolved and the temperature of the eggs reaches 165F.
- Then, transfer the mixture to the bowl of a stand mixer fitted with the whisk attachment.
- Beat on medium speed for 4-5 minutes, or until the mixture forms stiff peaks. Add the vanilla and mix to combine.
- To assemble, place 2 tablespoons of filling into the center of each pie shell. Then, top with a dollop of meringue and toast the top lightly with the kitchen torch. Enjoy immediately and store any leftovers in the fridge for up to two days.
Notes
- You may not need the full 1/2 cup of ice water. I like to put 1/2 cup of water into a bowl and then add ice to cool it down. Then I slowly add it to the dough, stopping when the dough forms a ball.
- You need to use a kitchen torch to toast the meringue— I don’t recommend using the broiler. If you don’t have one, you can skip the meringue and use whipped cream instead.
Nutrition
Nutrition information is automatically calculated, so should only be used as an approximation.