This post may include affiliate links. As an Amazon Associate I earn from qualifying purchases.
Not sure what to do with all those fresh hatch green chiles that are filling up the grocery store? Don’t worry I got you covered! This is your guide on how to roast hatch green chiles right in your kitchen.
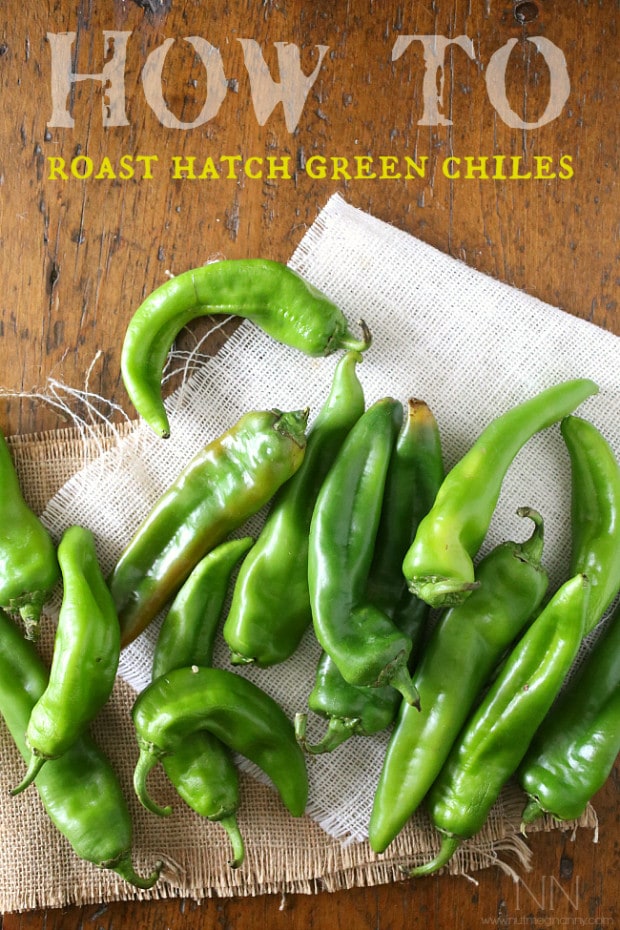
It’s hatch green chile season!
If you have just been gifted with a whole box I bet you’re wondering how to roast them yourself.
Well, I have you covered!
If you’re new to hatch green chiles they are also called hatch chile, green chile, and the Anaheim pepper.
For this “how to” I used 12 peppers which gave me 4 (4-ounce) servings of chopped green chiles. I made sure to freeze mine because I like to use them all year round!
Now, get into the kitchen and start the roasting!
You will be rewarded with some delicious flavor-packed peppers!
I’m going to walk you through the steps under each picture BUT there will also be a print version of the “recipe” at the bottom of the post. So don’t worry about trying to write down each step.
Table of Contents
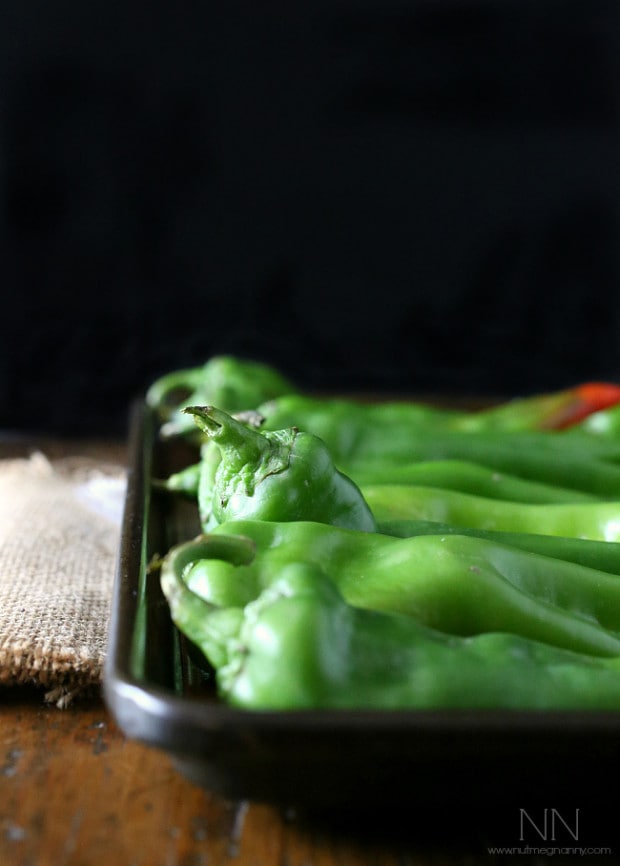
Step 1 roasting hatch green chiles
Make sure your peppers are nice and clean and lay them out on a rimmed baking sheet.
You can get those babies pretty close so don’t worry about leaving spaces.
I managed to fit all my peppers onto just one baking sheet.
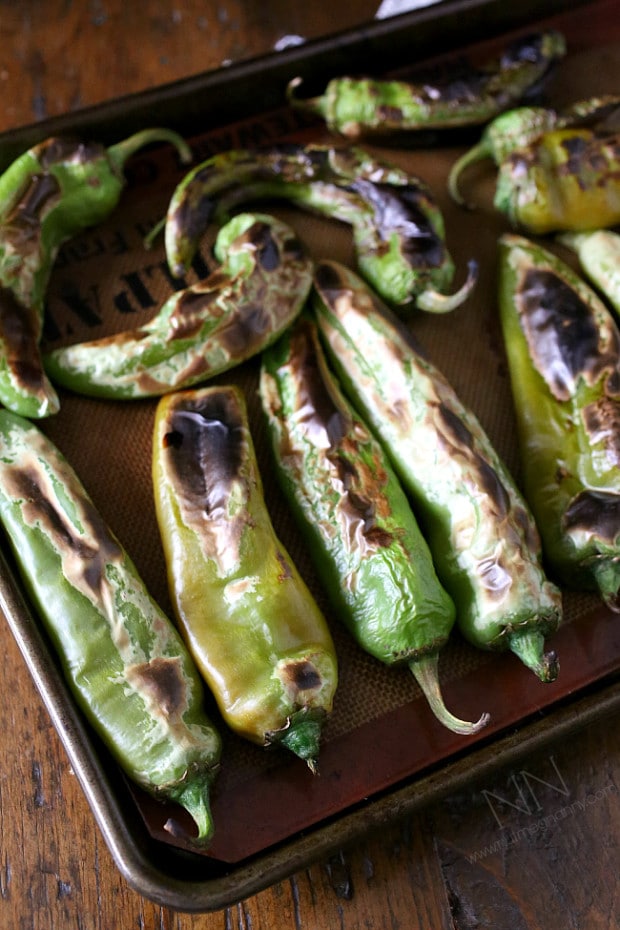
Step 2 roasting fresh green chiles
If you have an electric oven turn your broiler to high.
The broiler uses the top element of your oven so you will want to move your rack up to the second-highest spot.
Add your peppers into the oven and place them on the top rack.
Keep the door slightly ajar and watch for the peppers to start looking black and blistered on the top.
Remove the sheet pan from the oven, flip the peppers, and add back to the oven and broil until the other side is black and blistered.
If you have a gas range you can either blister peppers over an open flame or in the broiler down below. Just be careful to make sure nothing catches on fire!
You can also use your grill to blister the peppers!
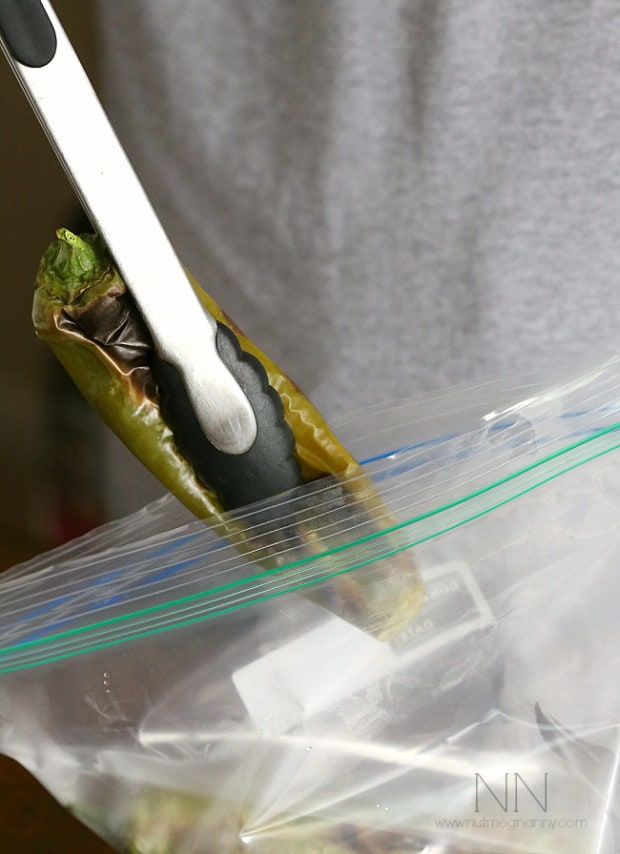
Step 3 roasting your own green chiles
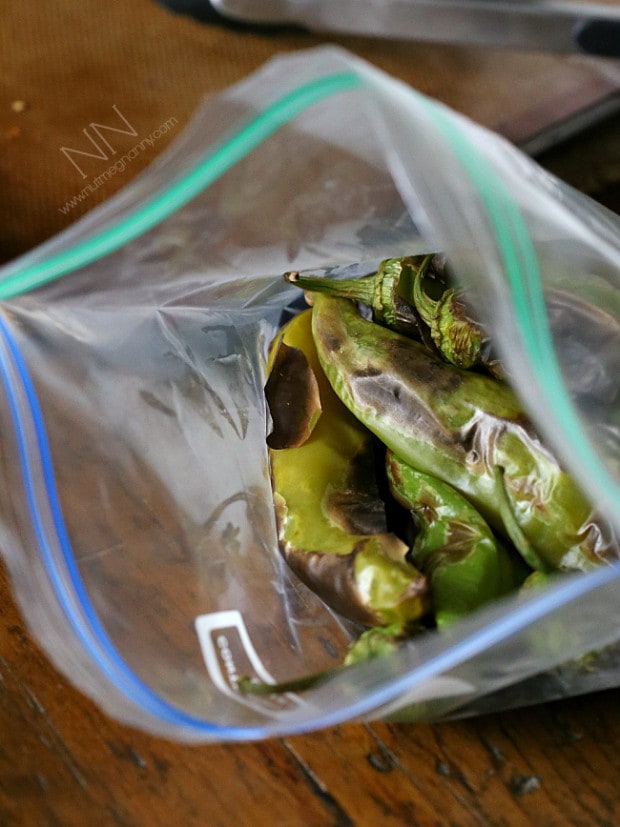
Remove the peppers from the oven and add to a large ziptop baggie.
I like to use the freezer bags because they are thicker plastic and I like to think that will stop them from melting.
Optional: Have your adorable husband carefully place each pepper in the bag while his wife takes a photo capturing the moment.
Step 4 roasting fresh hatch green chiles
Seal up that bag of peppers and let sit on the counter to get all steamy.
Step 5 roasting fresh Anaheim peppers
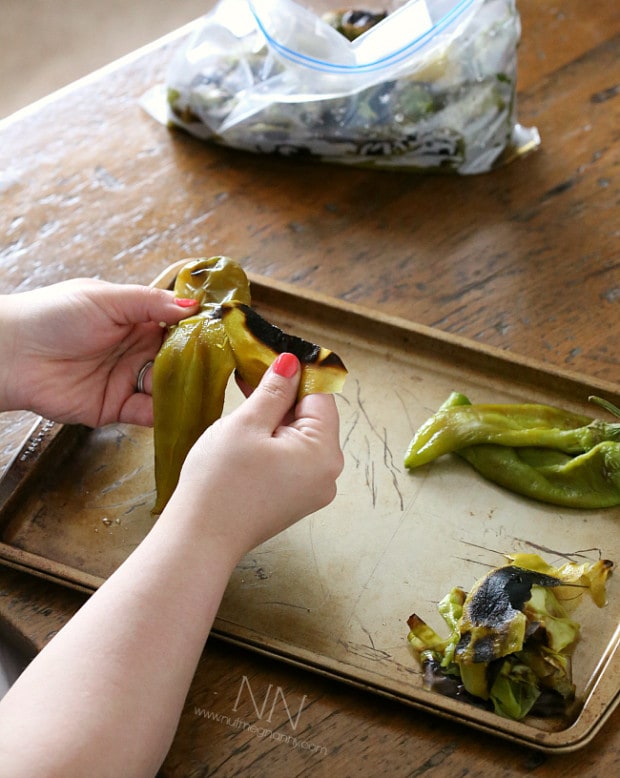
After about 30 minutes the peppers should be nice and steamy and slightly less hot to the touch.
It is at this point I recommend putting on some latex gloves to start peeling and processing your peppers.
If you’re a rebel you can totally ignore my glove advice and go at it barehanded – much like me.
However, you should be warned that just an hour after all these pictures were taken I rubbed my eyes and a fire erupted in my eyeball.
I then filled a shot glass full of milk and held it over my open eye. It totally worked but it was also slightly gross.
Sooooooo unless you want to spend your night having green chile/milk eye I suggest wearing gloves.
Step 6 and 7 roasting green chiles
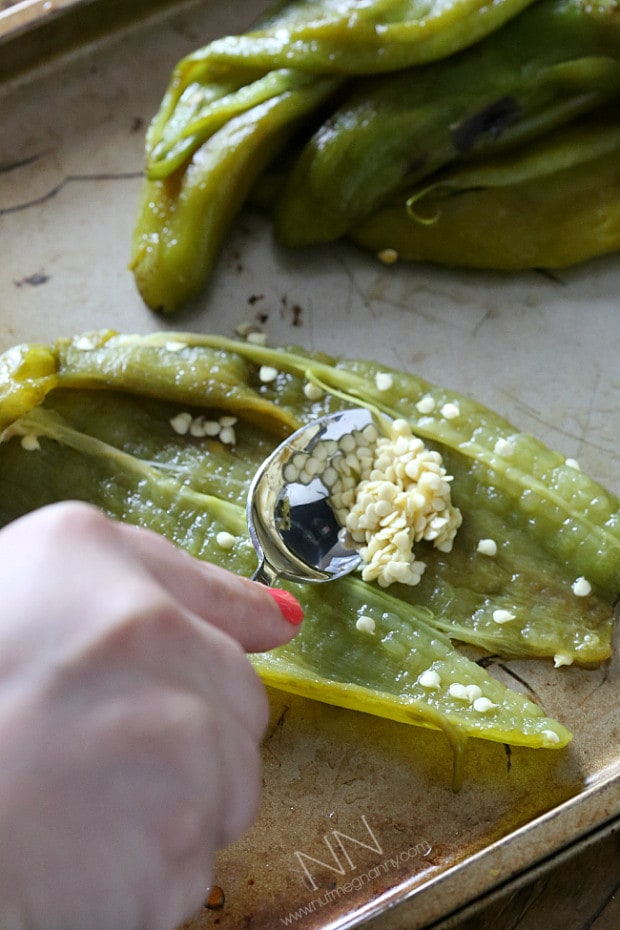
After all the peppers have been skinned you want to gently cut down the middle and scrape out the seeds of the pepper.
It sounds like this step would be a pain in the ass but it was actually pretty easy and slightly therapeutic.
I threw away my seeds but I bet if you dried them you could plan your own the next summer!
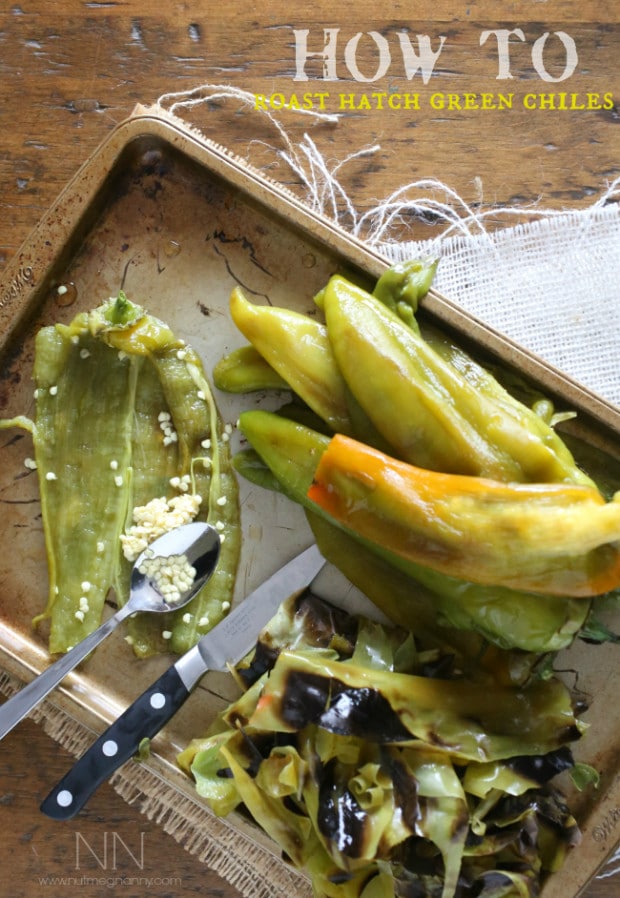
After your seeds have been scraped you can cut off the tops and either store them whole or dice them up.
They will keep in the fridge for about a week or you can portion them up and freeze them.
I like doing mine in 4-ounce portions which are the typical size you find in the store.
Recipes using hatch green chiles
Why not check out a few of my recipes that call for green chiles!
- Love lots of flavor and tender pork? Try my Pork Chile Verde.
- Craving a delicious soup? Try my Spicy Chicken Lime Soup.
- Want an easy-to-make chili? Try my Slow Cooker Beef Chorizo Taco Chili.
- Short on time? Try my Instant Pot Pork Chili Verde.
How To Roast Hatch Green Chiles

Ingredients
- 12 fresh hatch green chiles
- 1 sheet pan
- 1 large ziptop plastic bag
- 4 small ziptop plastic bags
Instructions
- Look over chiles and wash off any dirt, etc.
- Add peppers to a rimmed baking sheet. You can keep the chiles close together so don’t worry if they are touching. Just making sure they are not laying on top of each other.
- If you have an electric oven turn your broiler to high and move your oven rack up to the second to the highest spot.
- Add your peppers into the oven and place them on the top rack. Keep the door slightly ajar and watch for the peppers to start looking black and blistered on the top.
- Once they are ready, remove the tray from the oven, flip the peppers and add back to the oven.
- Broil until the other side is black and blistered.
- If you have a gas range you can either char the peppers once at a time over an open flame or use the broiler at the bottom. Keep a close eye so they do not catch on fire. You can also use a grill to get them charred and blistered.
- Once your peppers are blackened add them to a large ziptop baggie.
- Seal and let sit for about 30 minutes to steam.
- Remove the peppers from the bag and peel off the skin. It should come off fairly easily.
- Once all the peppers have been peeled cut them down the middle and scrape out the seeds.
- After all the seeds have been removed cut off the tops.
- To store – add your chiles either whole or diced to a freezer-safe ziptop baggie or storage container. I like to store them chopped in 4-ounce portions.
- The peppers will keep in the freezer for up to a year or for up to a week in the refrigerator.
Nutrition
Nutrition information is automatically calculated, so should only be used as an approximation.


I did my peppers outside on my charcoal grill and put them in my Dutch oven and let them steam as I grilled the remaining peppers. After peeling and bagging I put them in the freezer and then soaked my hands in a bowl of milk.
Thanks for the instructions. I didn’t have a clue!
This works really well on a gas grill. Just don’t forget the step about putting them in a plastic bag. Personally, I use a paper sack and make sure that it is closed tight so the chilies can steam. One hint: dip the chilies in water before laying on the hot grill and then using a spray bottle, spray them with water often turning when each side is blackened.
i guess we’re all adults, but as a man who lived in new mexico, use the gloves. a simple trip to the restroom can become a nightmare and by the time you realize it it’s way too late. and regardless of the gender of your significant other, but especially if that person is female, getting romantic even a day later can earn you a truncated moment and a week of frown. it’s a classic amateur mistake, and those in the know will laugh at you.
use the gloves.
Why can’t the husband be the cook in the relationship or maybe both?
Your pretentious comment about the adorable husband was unnecessary and rude. No need to assign gender roles in this day and age.
The recipe was good though, so maybe you should just stick to cooking and 86 the sexist banter.
Finally, someone stands up for the white man.
I love smart asses who try to correct us any time a comment or reference or phrase is not what they think it should be.Please save us from the woke generation!
I’ve been roasting Hatch chiles for years and here’s tip: after steaming in plastic bags, rinse the peppers in a stream of cold water over a strainer and the blistered skins will slide right off. Pull the stem and top off, open a slit and pull the seeds and membrane out.
I apologize as I just found your site. I do want to state that I agree with the process that you describe for roasting chiles. This process can really be used for any chile for that matter. However, I just want to clarify one small little point. Hatch Chiles are NOT the same as Anaheim chiles. To be a “true” Hatch chile, they must come from a specific area of New Mexico. The Anaheim Chile is predominatly grown in California, and therefore it is not the same as a Hatch chile. Since the flavor of the Anaheim chile is milder than a Hatch chile, it would be a great substitute for people who cannot tolerate much spiciness in their food. But great blog post, otherwise. Will start to follow your posts.