This post may include affiliate links. As an Amazon Associate I earn from qualifying purchases.
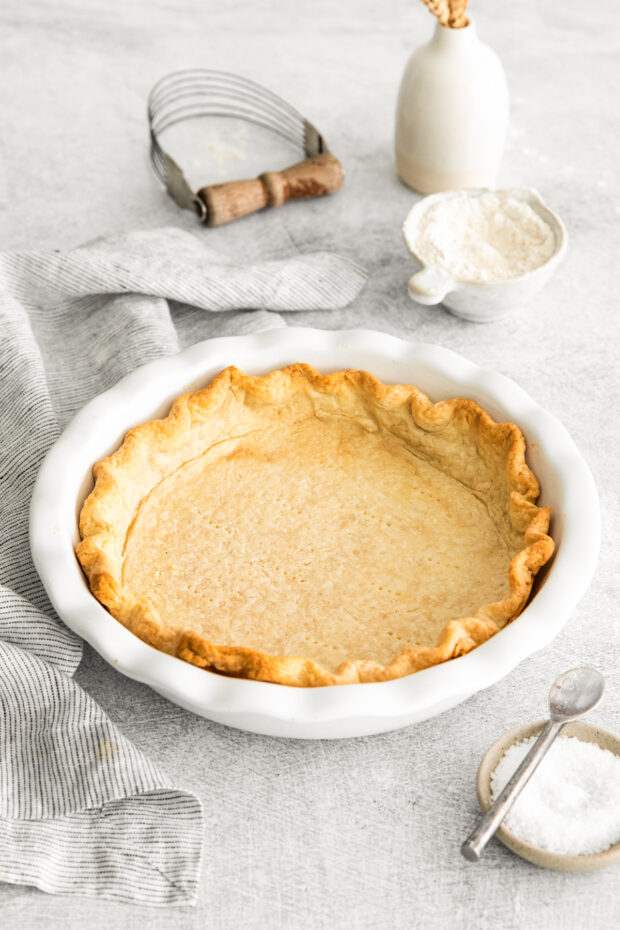
This homemade buttery pie crust comes together quickly and easily with simple all-purpose flour, butter, cold water, and salt.
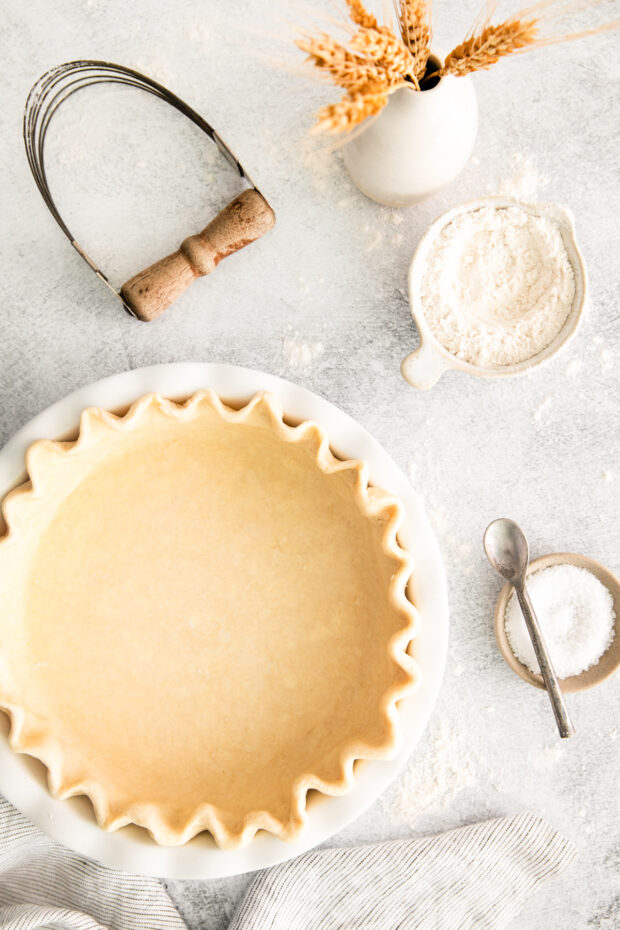
Can you believe that with just 4 simple ingredients, you can make a flaky and perfect pie crust?
This homemade buttery pie crust is made with all-purpose flour, butter, salt, and a little cold water, that’s it!
While I’m a fan of taking help from the grocery store with pre-made crust, there’s something special about making your own from scratch.
And it’s so easy to make (with either a food processor or by hand) you’ll wonder why you haven’t been making it sooner!
Trust me, anyone can make a perfect homemade pie crust.
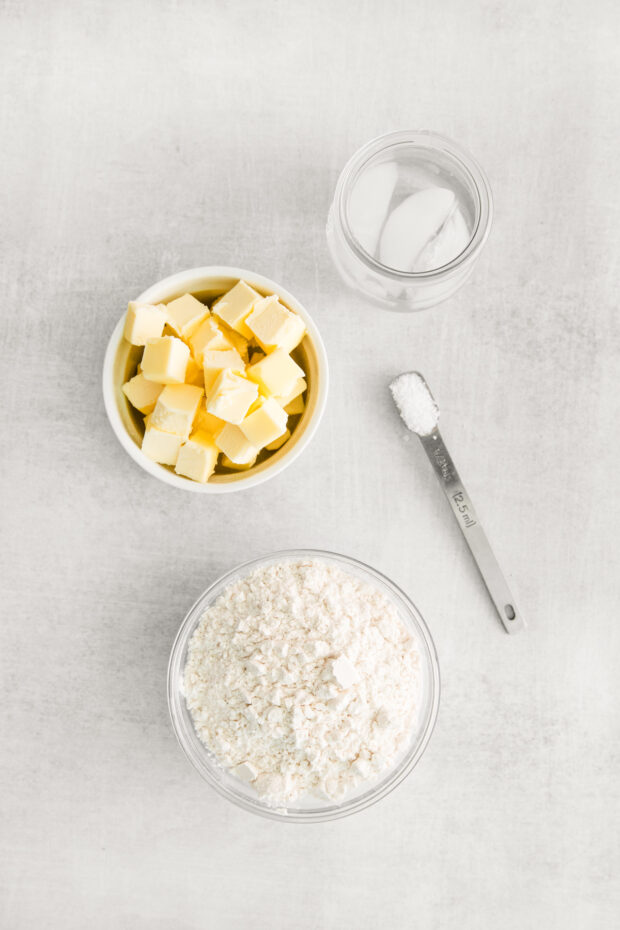
Ingredients for homemade buttery pie crust
- All-purpose flour – All-purpose flour is a common baking ingredient that will make up our dough.
- Butter – Butter is the tasty fat of choice here to help create those flaky layers in the crust.
- Kosher salt – Kosher salt will enhance the flavors of the dough.
- Cold water – Cold water will help the dough come together without melting the butter.
Two methods
This homemade pie crust is foolproof!
Let’s go over the two ways you can make this homemade pie crust.
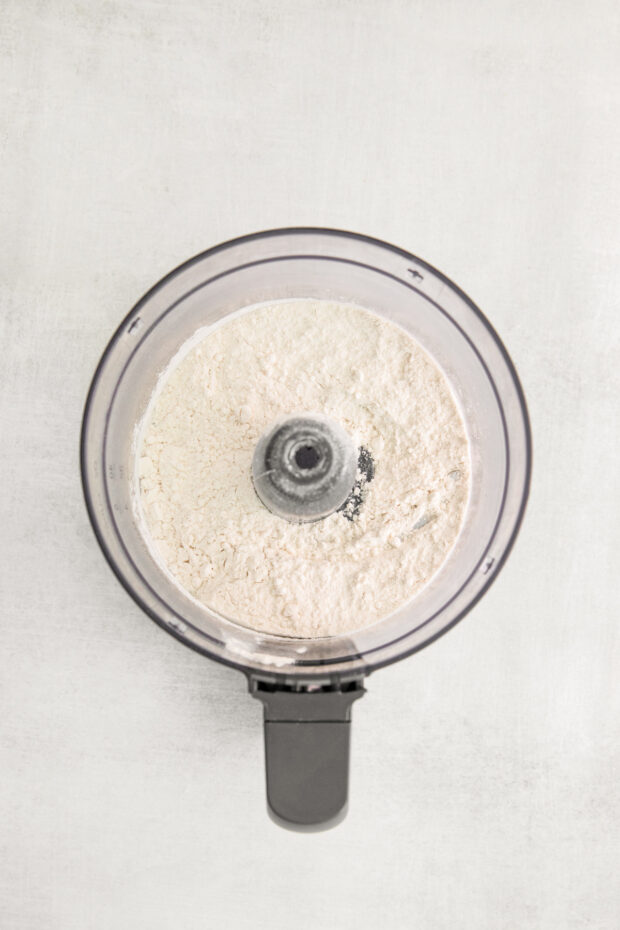
With a food processor
Using your food processor is great because it does all of the hard work for you!
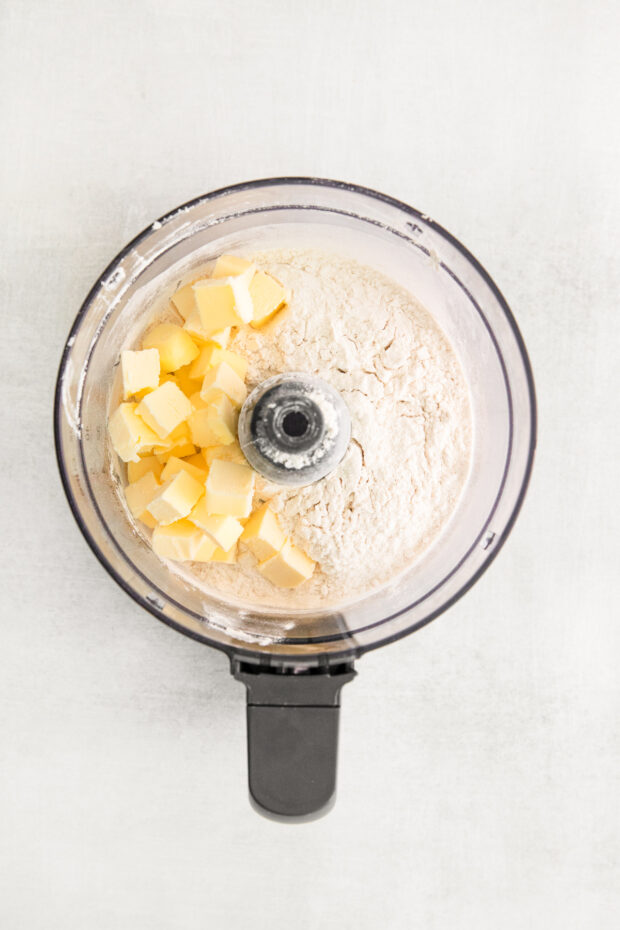
Simply add your flour, salt, and your cubed butter to your food processor.
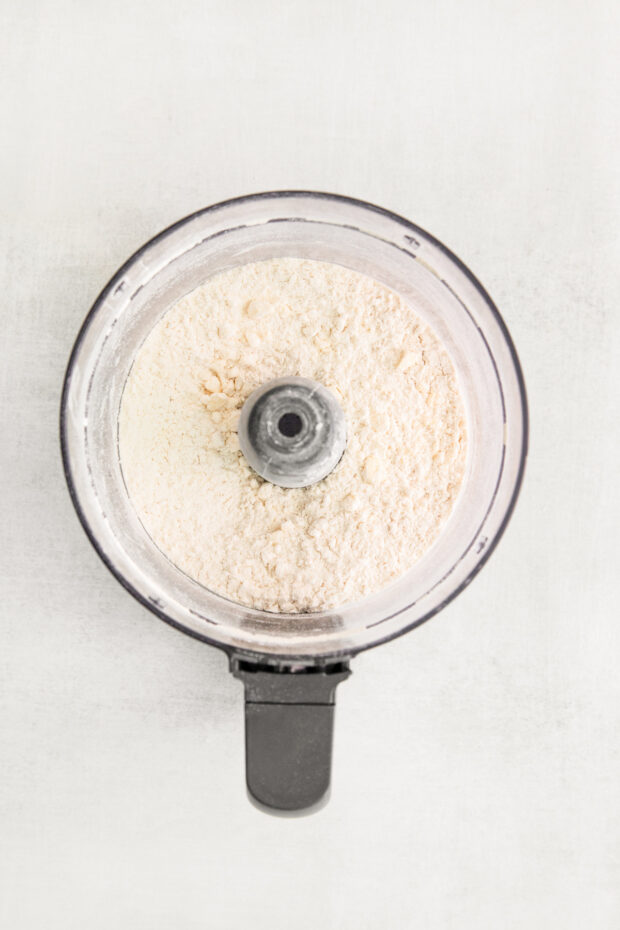
Pulse to combine–pulse the mixture anywhere from 5-10 times–you’re looking for the butter to be the size of peas or smaller when you’re ready to continue.
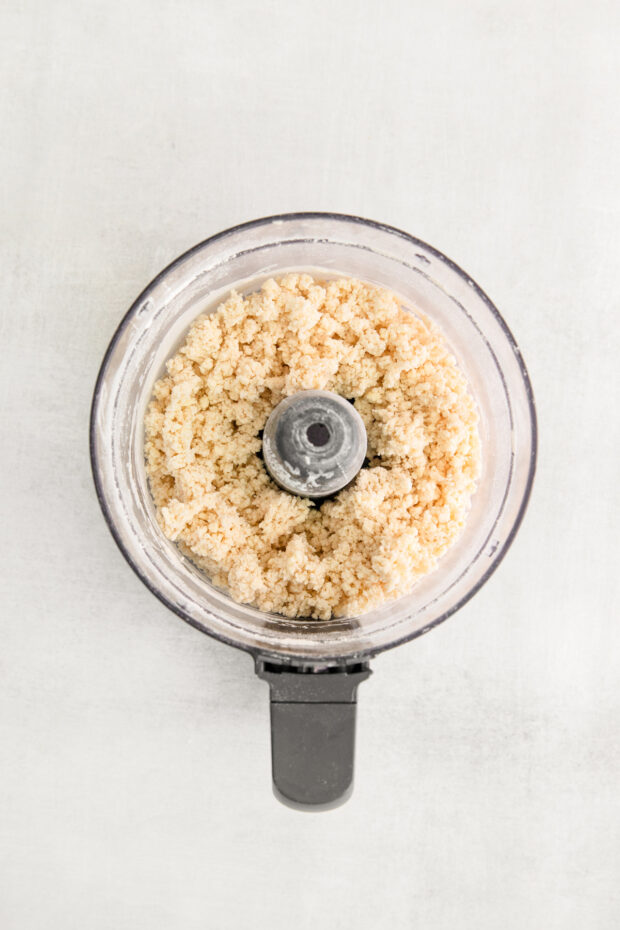
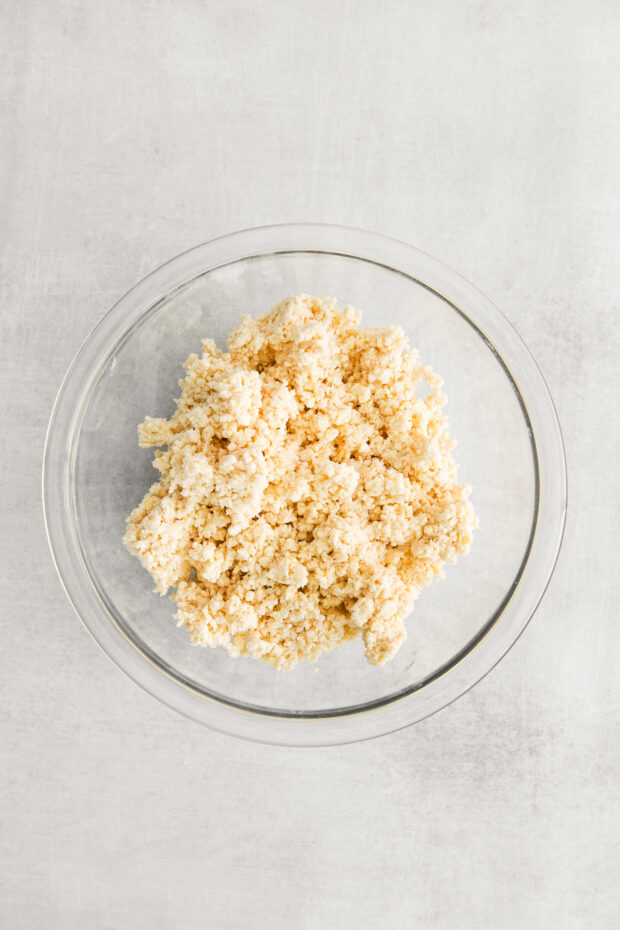
Next, turn the food processor on low speed, and slowly sprinkle a little bit of the ice water (be sure not to add any ice) and combine until the mixture looks like wet sand.
It will not come together in a ball! It will look like wet, crumbly sand, and that’s exactly what we want!
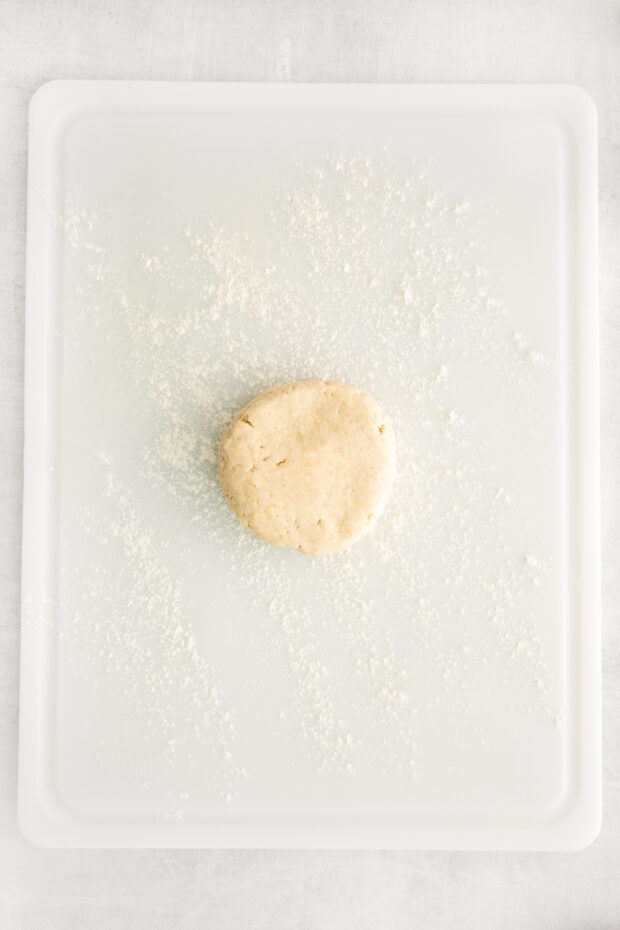
Turn the dough out onto a clean surface and shape it into a disc.
Wrap the dough in plastic wrap and refrigerate it for at least 30 minutes.
Without a food processor
If you don’t have a food processor, don’t worry!
This homemade pie crust is just as easy to make by hand!
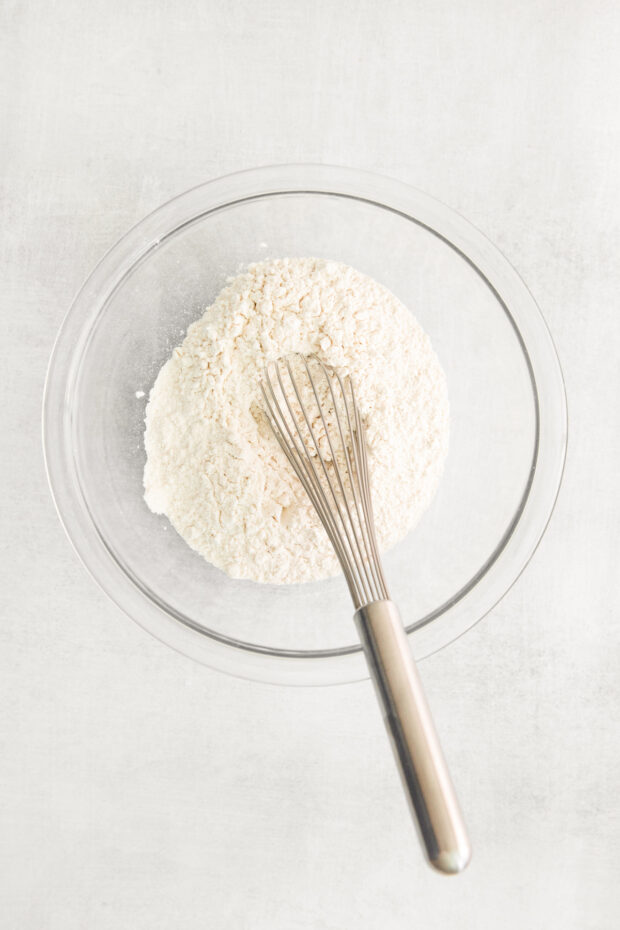
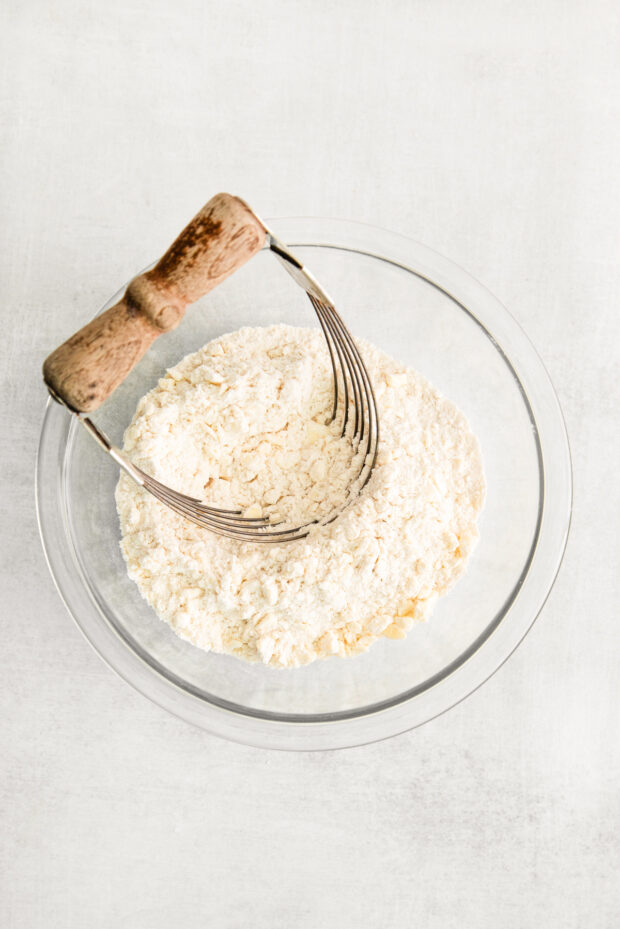
Add the flour, salt, and cubed butter to a bowl.
Using a pastry blender, (or two knives, or even your fingers,) cut the butter into the flour.
Continue to cut the butter until it resembles the size of small peas.
Next, slowly sprinkle a little bit of the ice water (be sure not to add any ice) and combine until the mixture looks like wet sand– it will not come together in a ball.
Turn the dough out onto a clean surface and shape it into a disc.
Wrap the dough in plastic and refrigerate it for 30 minutes.
How to roll out pie crust
After your butter pie dough has rested for at least 30 minutes it’s time to start rolling.
You want your dough to be cold for this process so the fat stays solid and keeps the pastry buttery which results in a buttery flakey crust.
Gently flour your rolling area, your rolling pin, your hands, and the top of your dough.
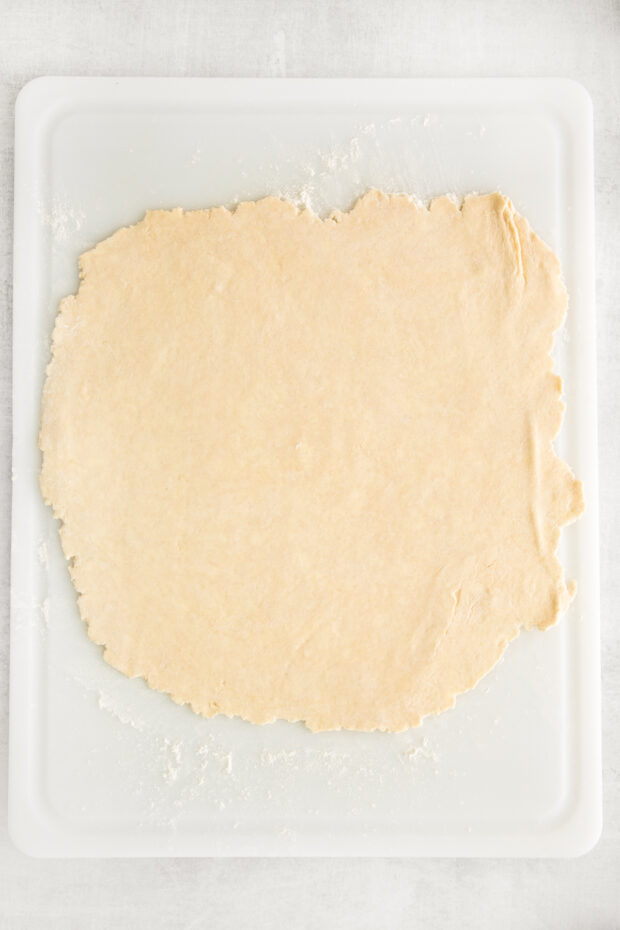
Starting in the middle of your dough, with your rolling pin, with an even pressure press the rolling pin into the dough and roll outwards. Move your rolling pin a few degrees with every roll so your dough rolls out evenly.
You want to get your dough rolled out to about 12 inches wide, and 1/8th inch thick, to ensure it will cover your 9-inch pie dish.
If you’re having issues getting the dough rolled out into a circle you can gently shape it with your hands.
Once rolled out, gently pick up the dough and place it into your pie dish.
Gently press your dough into the dish so it evenly covers the bottom and the edges of the pie plate. There will be an overhang, this is normal!
Using a knife or kitchen shears, cut off the excess dough leaving about a 1-inch overhang. We are leaving this so we can form our pie crust edge!
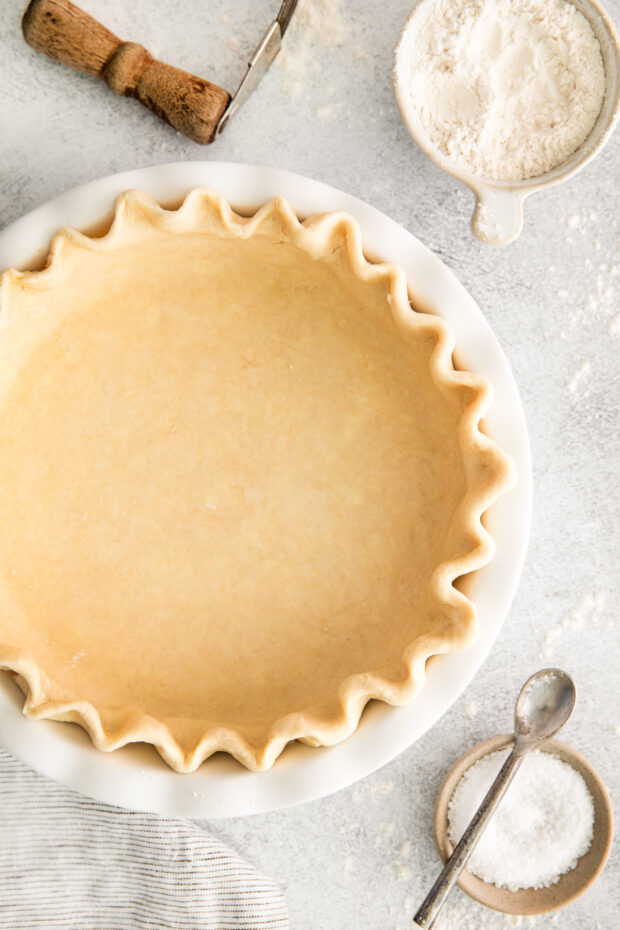
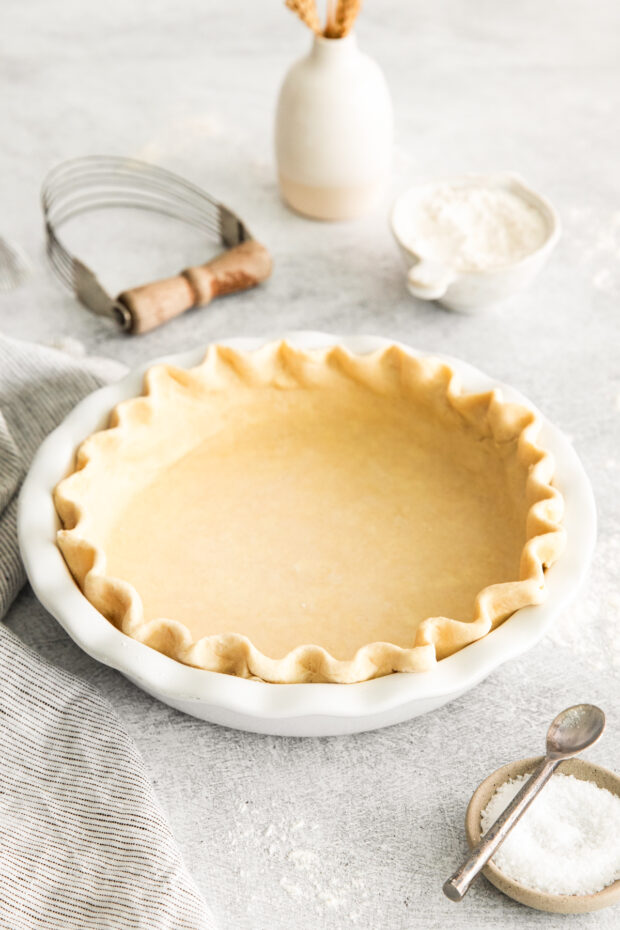
How to crimp a pie crust
With the 1-inch of pastry overhang, lightly pinch it up to create a mountain of dough. This gives us a nice chunk of dough to flute for your pie crust.
If you find the dough is sticking to your hands just add a little flour to your fingers.
For the traditional fluted crust you’ll use the pointer finger and thumb from one hand, and the pointer finger from your other hand.
Bring your thumb and pointer finger together leaving about a 1-inch space, gently pressing from the outside of the dough, push inwards, while using the pointer finger of the opposite hand to push the dough from the inside of the pie crust into the space between the fingers.
Repeat this action until you have gone all the way around the pie.
Blind baking
The next step I’m going to talk about is blind baking your pie crust.
You will not have to do this every time you make homemade pastry but for some pies, it’s a necessary step.
Blind baking typically happens for custard-based pies such as pumpkin pie. The reason we blind bake is that the filling has a lot of moisture and can create a soggy-bottomed pie if baked raw with the filling.
The blind baking helps give the bottom a true flakey crust.
Also, for some pies you may need to bake the crust fully before filling because the completed pie does not require baking. This is common for pies like chocolate cream pie.
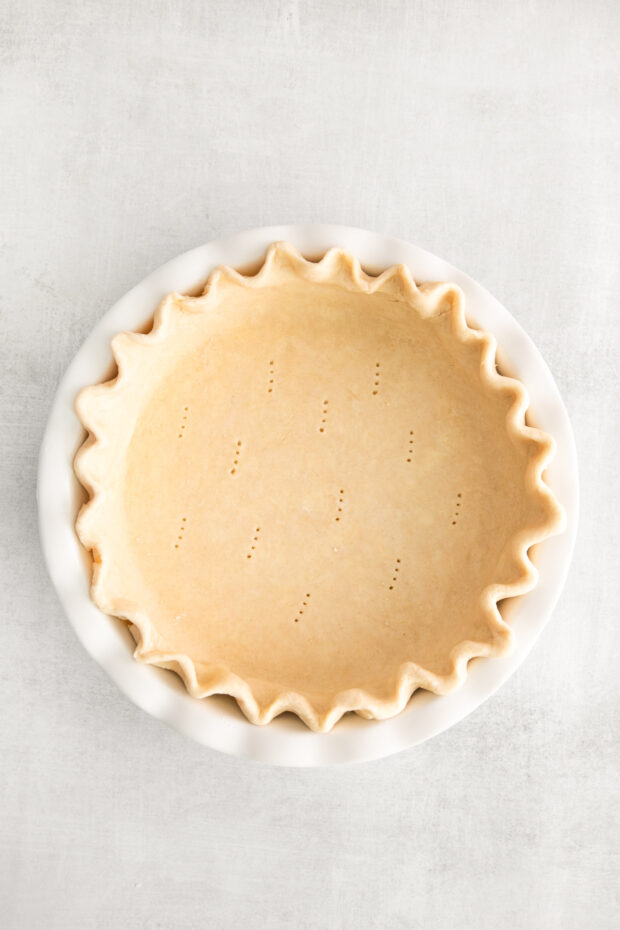
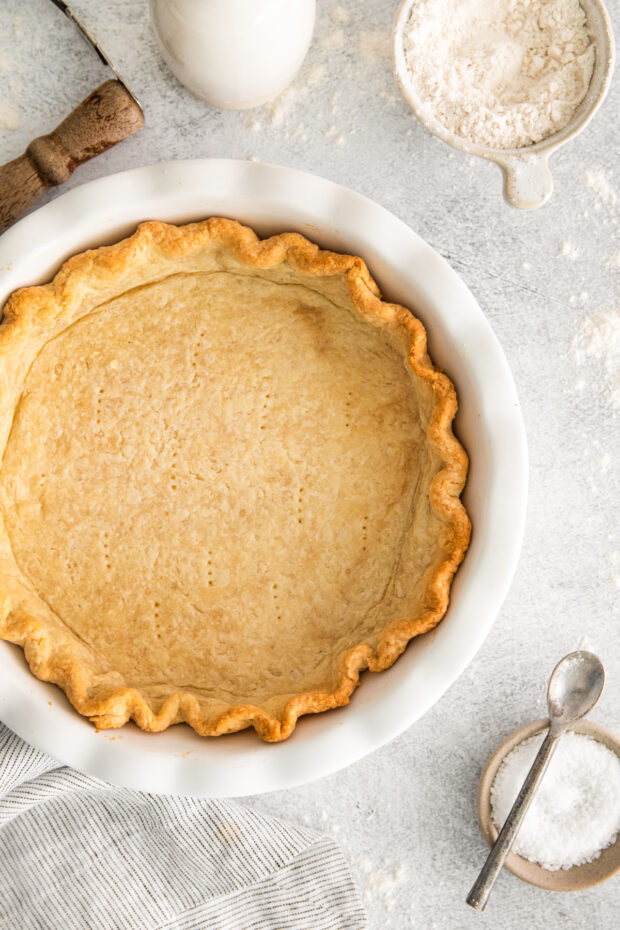
To blind bake, using a fork, poke the dough a few times on the bottom of the crust. This gives the hot air a place to escape so the dough does not puff up too much or create large air pockets.
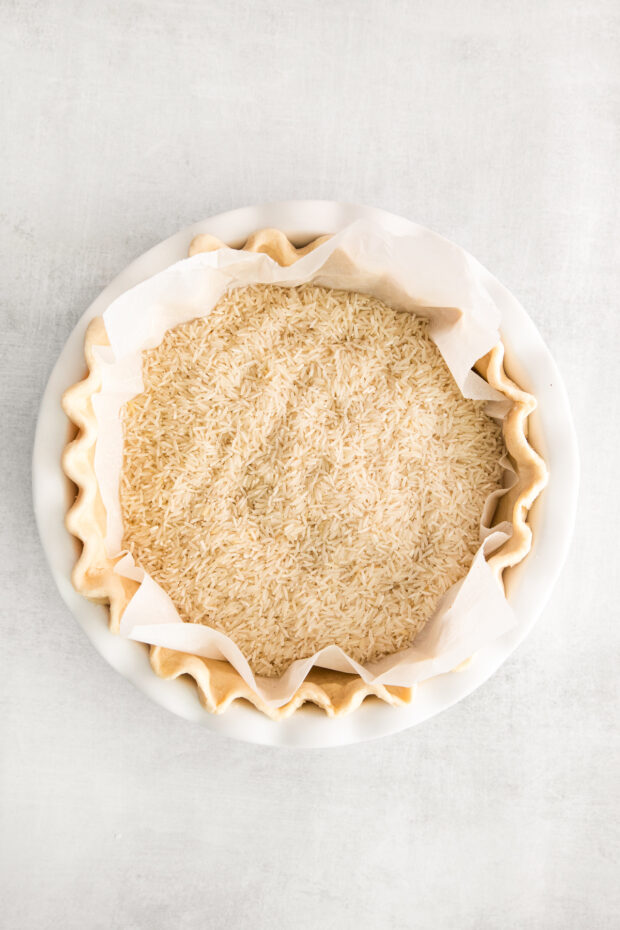
Add a piece of parchment to the inside of the crust, and add in pie weights, rice, or uncooked beans. This will help weigh down the crust so again, it does not puff up too much.
For pies that will need additional baking
You will blind bake your pie crust at 400 degrees F for 30 minutes.
Remove from the oven, take out pie weights, fill your pie with the desired filling, and bake according to directions.
This is called partially blind baking.
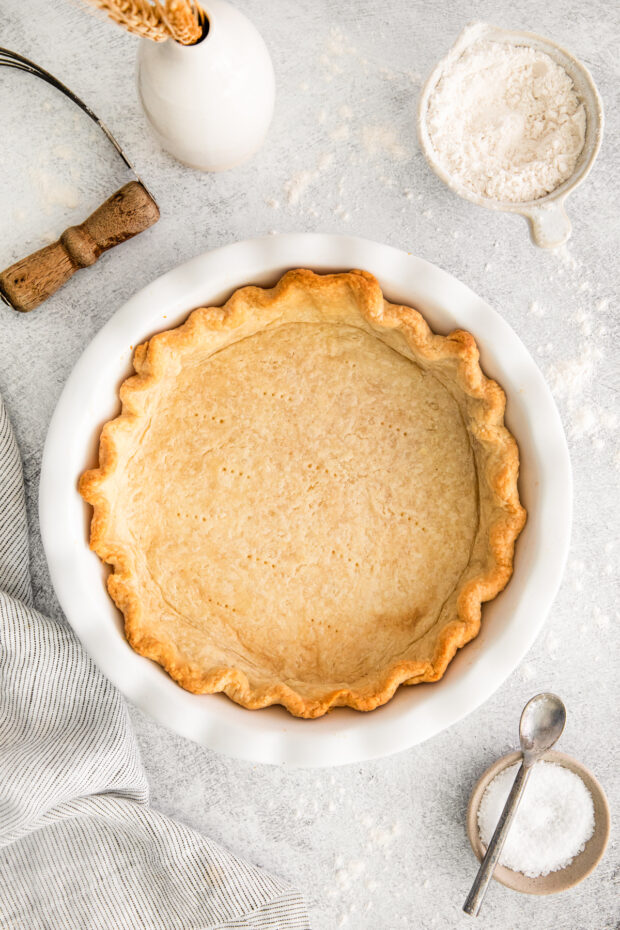
For pies that will need no additional baking
You will blind bake your pie crust at 400 degrees F for 30 minutes.
Remove from the oven, take out pie weights, add back to the oven, and bake for another 10-15 minutes or until golden brown.
This is called fully blind baking.
Where can I use homemade pie crust?
You can use freshly made butter pie crust in any recipe that calls for pie crust or storebought pie crust.
Here are a few delicious recipes that you can use for a little pie crust inspiration.
- Streusel Topped Apple Butter Pumpkin Pie
- Homemade Strawberry Rhubarb Pie
- Bacon Onion Herb Quiche
- Boston Cream Pie Tarts

Make ahead
The best part of making your own homemade buttery pie crust, aside from it being more affordable than the pre-made crust, is that you can freeze it ahead of time!
To freeze homemade pie crust, simply wrap discs of dough in two layers of plastic wrap, and a layer of heavy-duty aluminum foil, and put that in a freezer-safe bag.
It can stay in the freezer for up to 3 months!
To use, simply thaw the dough in the refrigerator overnight.
More pie recipes
- Love your
air fryer ? Try my Air Fryer Apple Hand Pies - Craving something tart and tangy? Try my Mini Lemon Meringue Tarts
- Looking for something sweet? Try my Mini Berry Galettes
- Want something adorable for your next party? Try my Mummy Hand Pies
Homemade Buttery Pie Crust

Ingredients
- 1-¼ cups all-purpose flour
- ½ teaspoon kosher salt
- ½ cup cold butter, cubed
- ¼ cup ice water
Instructions
With a Food Processor (the easiest method)
- Add the flour and salt to the bowl of a food processor and pulse to combine.
- Next add the cold cubed butter and pulse 5-10 times, or until the butter is the size of peas.
- Turn the food processor to low speed and slowly drizzle in the water (make sure not to add the ice).
- Continue to pulse just until the mixture resembles wet sand– it will not come together in a ball.
- Turn the dough out onto a clean surface and shape it into a disc. Wrap the dough in plastic and refrigerate it for 30 minutes.
Without a Food Processor
- Add the flour and salt to a large bowl and stir to combine.
- Next add the cubed butter. Use a pastry blender, two knives, or your fingers to cut the butter into the flour. Continue to cut the butter until it resembles small peas.
- Next add the ice water slowly (make sure not to add the ice), mixing as you pour.
- Continue to mix just until the dough resembles wet sand– it will not come together in a ball.
- Turn the dough out onto a clean surface and shape it into a disc. Wrap the dough in plastic and refrigerate it for 30 minutes.
To Bake
- Turn the chilled dough onto a lightly floured surface and roll it to ⅛” thick. Carefully transfer the dough to a greased 8” pie pan and crimp or seal the edges as desired. Poke the bottom to the crust a few times with a fork.
- For Baked Pies: add the filling to the pie crust and bake as directed by the recipe.
- For Filled Pies: cover the bottom and sides of the pie with parchment paper and fill the paper with pie weights (or use dried rice or beans). Bake the pie at 400F for 30 minutes. Then remove the pie weights (be careful, they will be hot) and bake for an additional 10-15 minutes or until browned and crisp. Allow the pie crust to cool completely before filling.
Nutrition
Nutrition information is automatically calculated, so should only be used as an approximation.